接前一篇文 實(shí)現(xiàn)微博首頁實(shí)例,今天來動(dòng)手實(shí)現(xiàn)首頁的第一個(gè)部分。
要實(shí)現(xiàn)什么

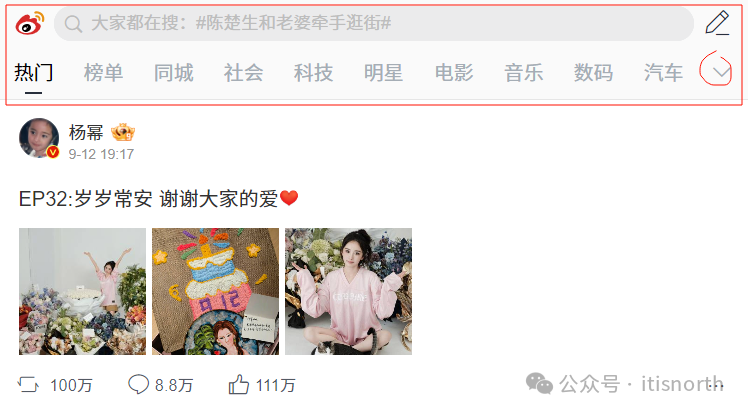
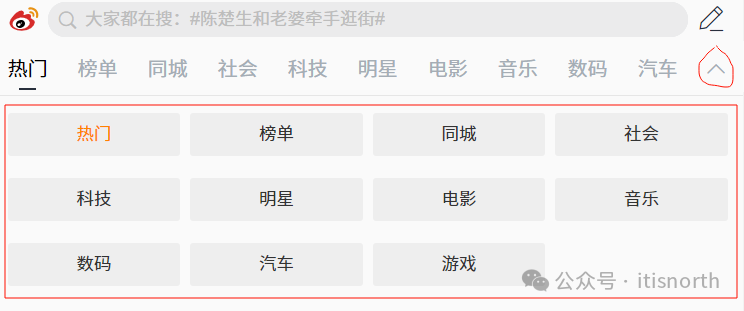
今天要實(shí)現(xiàn)的是上圖中框起來的部分,以及點(diǎn)擊最右邊圖標(biāo)內(nèi)容展開為如下圖的部分。

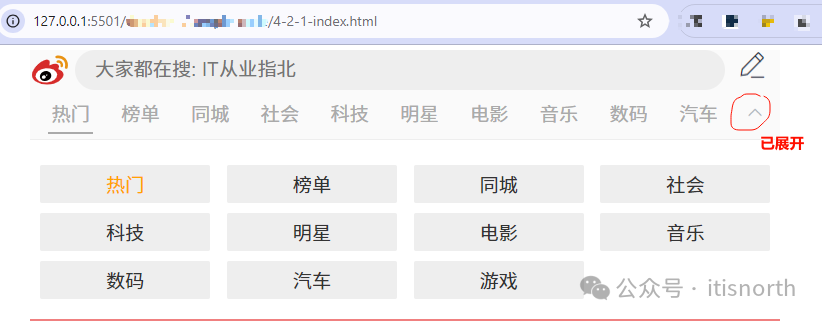
先看一眼最終的成品效果:

基本上是做到效果類似吧,下面來拆解一下實(shí)現(xiàn)步驟。
我們把實(shí)現(xiàn)分成三步:
第一行的 logo 和搜索框
第一行的內(nèi)容比較簡單,只用到 img 元素和表單的 input 元素,當(dāng)然最后的標(biāo)簽,還是圖片(img)元素。
只要按順序把它們排列好就行了。
<div class="search"> <img class="logo" src="../img/4-2-1-logo.svg" width="40" height="40" /> <input placeholder="大家都在搜: IT從業(yè)指北" type="text" value="" /> <img class="edit" src="../img/4-2-1-edit.png" width="40" height="40" /> </div>
從布局上來說,只是簡單的使用了 div,然后在里面依次放置了 img,input 和 img。
為了讓排版更接近,搭配使用了以下 CSS 樣式。目前看不太懂也沒有關(guān)系,后續(xù)的 CSS 課程之后就能有更清楚的理解。
簡單來說,在 CSS 里就是指定了寬度,字體大小,顏色,上下之間的間距,是否有邊框等等。
div.search { margin-top: 5px; width: 750px; background-color: #fafafa; align-self: center; } .search img.logo { float: left; margin-right: 5px; line-height: 40px; } .search input { float: left; border: 0; border-radius: 5em; height: 40px; padding-left: 20px; width: 630px; background-color: #eee; margin-right: 10px; font-size: 1em; } .search img.edit { float: right; margin-top: 5px; margin-right: 5px; }
實(shí)現(xiàn)第二行的菜單
接下來的菜單,更簡單了。就是一排超鏈接的排列。當(dāng)然,因?yàn)樽詈笥幸粋€(gè)展開圖標(biāo),所以也用到了 img 元素。
<div class="nav"> <a href="#" class="selected">熱門</a> <a href="#">榜單</a> <a href="#">同城</a> <a href="#">社會(huì)</a> <a href="#">科技</a> <a href="#">明星</a> <a href="#">電影</a> <a href="#">音樂</a> <a href="#">數(shù)碼</a> <a href="#">汽車</a> <img id="menuControl" class="expand" src="../img/4-2-1-expand.png" onclick="toggleMenu()" width="30" height="30" /> </div>
這里除了使用了 CSS 樣式對(duì)超鏈接進(jìn)行了樣式處理,還在 img 元素上添加了 onclick 事件,這里面的邏輯暫時(shí)先不展開,只需要明白它是在控制菜單區(qū)域的展開關(guān)閉就好了。
div.nav { padding-top: 5px; width: 750px; align-self: center; padding-bottom: 5px; background-color: #fafafa; border-bottom: 1px solid #eee; } .nav a { display: inline-block; width: 45px; line-height: 30px; text-align: center; text-decoration: none; color: #aaa; padding-bottom: 3px; margin-right: 18px; } .nav a:hover { color: orange; } .nav a.selected { margin-left: 18px; border-bottom: 2px solid #aaa; } .nav img.expand { float: right; margin-right: 10px; cursor: pointer; }
鏈接元素的樣式有點(diǎn)復(fù)雜,主要是它有幾個(gè)不同的狀態(tài),這里并沒有全部寫。此處內(nèi)容更多也會(huì)在 CSS 里講解。
實(shí)現(xiàn)第三行的菜單展開區(qū)域
第三行的內(nèi)容,其實(shí)和第二行差不多,唯一不同的,是通過 CSS 實(shí)現(xiàn)了樣式的不同。
<div id="menu" class="menu"> <a href="#" class="selected">熱門</a> <a href="#">榜單</a> <a href="#">同城</a> <a href="#">社會(huì)</a> <a href="#">科技</a> <a href="#">明星</a> <a href="#">電影</a> <a href="#">音樂</a> <a href="#">數(shù)碼</a> <a href="#">汽車</a> <a href="#">游戲</a> </div>
對(duì)比之下,基本上和前一塊內(nèi)容的 HTML 代碼一樣。而不一樣的,則是下面的 CSS 樣式。
div.menu { padding: 10px 0 10px 20px; margin-top: 5px; width: 750px; align-self: center; } .menu a { display: inline-block; width: 170px; text-decoration: none; margin-right: 10px; background-color: #eee; margin-top: 10px; text-align: center; color: #333; padding: 5px 0; border-radius: 0.1em; } .menu a.selected { color: orange; }
整體效果
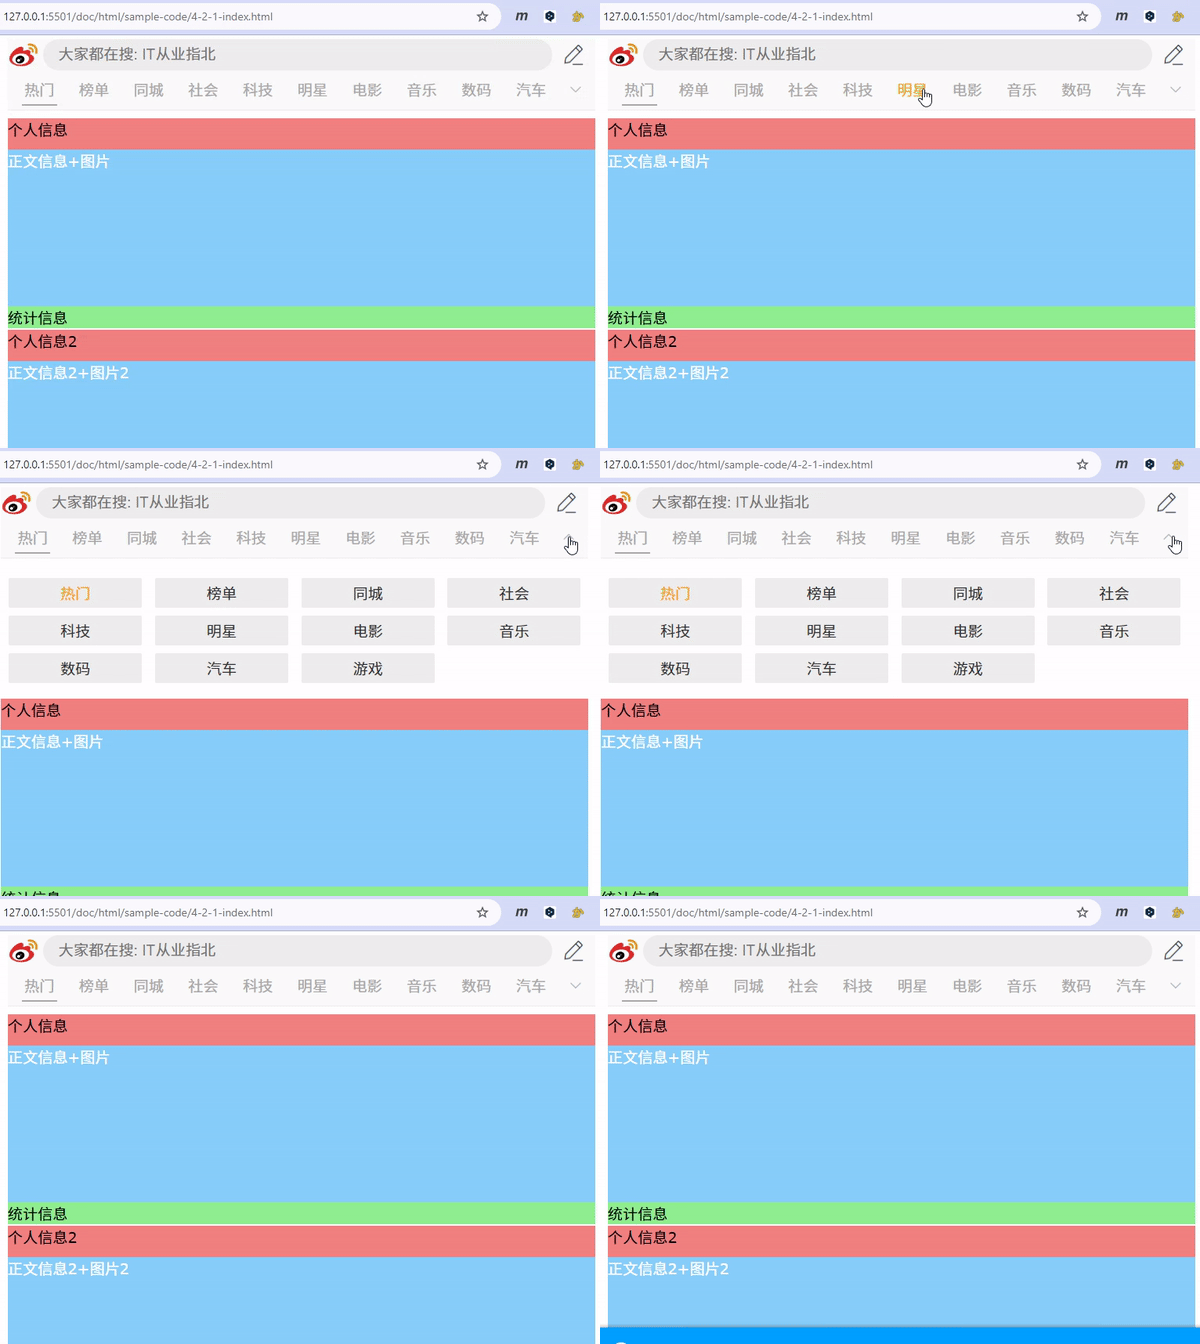
錄制了一個(gè) gif 動(dòng)畫,展示上述代碼的整體效果。

明天咱們接著實(shí)現(xiàn)接下來的部分。
該文章在 2024/10/22 12:22:35 編輯過